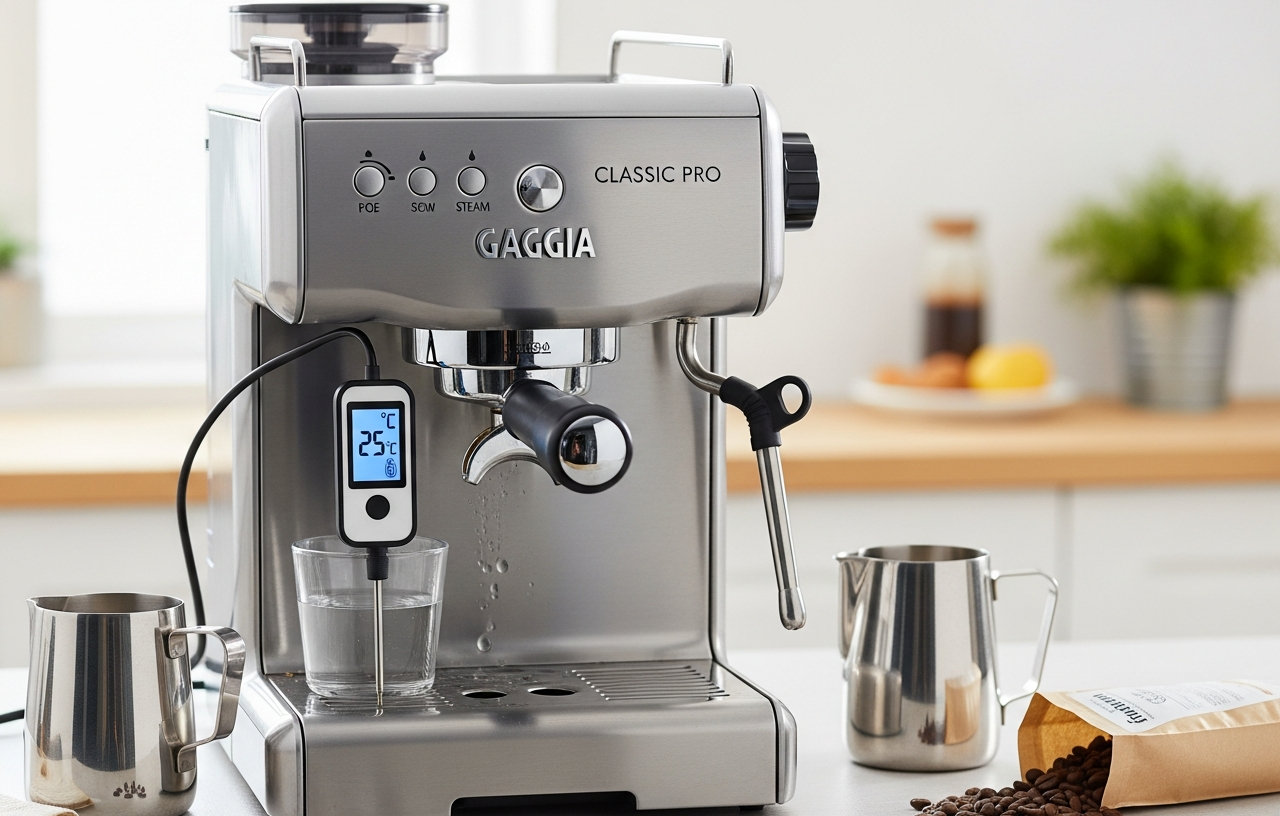
The Gaggia Classic Pro is renowned for its robust build and capacity to produce excellent espresso. However, like any appliance with heating elements, it can develop issues, with a common complaint being that the Gaggia Classic Pro not heating up to the correct temperature. This problem prevents proper espresso extraction, leaving you with cold, undrinkable coffee. Understanding the potential causes and how to address them can save you a trip to a repair shop or the cost of a new machine.
Before diving into internal components, always make sure the machine is properly plugged in and the power switch is engaged. Sometimes, the simplest solutions are the most overlooked. Verify that the power outlet itself is functional by plugging in another appliance. If the machine receives power but still does not heat, it's time to investigate further.
Common Causes for a Gaggia Classic Pro Not Heating
Several components within your Gaggia Classic Pro work together to heat the water to the optimal brewing and steaming temperatures. When one of these fails, the entire heating process can be compromised. We start with the most common and often easiest-to-diagnose issues.
Tripped Thermal Fuses
The Gaggia Classic Pro, like many espresso machines, includes safety thermal fuses. A tripped thermal fuse is a very common reason for a Gaggia Classic Pro not heating. There are typically two thermal fuses, one for the brew boiler and one for the steam boiler, though early models might have different configurations. You can often visually inspect them for a break in the wire or a discolored casing, indicating they have blown. Replacing a thermal fuse is a relatively simple DIY repair, with parts costing around $5-$15 each. It requires opening the machine's casing and carefully disconnecting and reconnecting wires.
Faulty Thermostat
The thermostats regulate the boiler's temperature. The Gaggia Classic Pro usually has two primary thermostats: one for brewing (around 95°C) and one for steaming (around 145°C). If either of these fails, the machine will either not heat at all, or it will not reach the correct temperature for its intended function. For example, if the brew thermostat fails, your espresso will be cold. If the steam thermostat fails, you will not get steam. You can test thermostats for continuity with a multimeter. A lack of continuity indicates a faulty thermostat. Replacement thermostats are readily available and typically cost between $15-$30 each. This repair involves opening the machine and carefully replacing the faulty component.
Scale Buildup in the Boiler
Hard water is the enemy of any espresso machine. Over time, mineral deposits, primarily calcium and magnesium, can build up inside the boiler and on the heating element. This scale acts as an insulator, preventing the heating element from efficiently transferring heat to the water. Severe scale buildup can drastically reduce heating efficiency or even cause the element to overheat and fail prematurely. If your machine heats slowly or sporadically, scale buildup is a strong possibility. Regular descaling, every 1-3 months depending on water hardness, is essential. Using a commercial descaling solution specifically designed for espresso machines is recommended. You can learn more about how to keep your machine in top condition by regularly deep cleaning your espresso machine.
Failed Heating Element
The heating element is the core component responsible for heating the water in the boiler. If the element itself fails, the machine simply will not heat. This is a less common issue than a tripped fuse or faulty thermostat but can happen, especially in older machines or those that have experienced significant scale buildup. A failed heating element will show open circuit when tested with a multimeter. Replacing the heating element is a more involved repair, requiring draining the boiler, disconnecting several wires, and carefully removing and installing the new element. Heating elements for the Gaggia Classic Pro typically cost between $40-$70. While challenging, this is a repair many DIY enthusiasts can undertake with patience and the right tools.
Pump Issues Affecting Flow (Indirectly)
While the pump directly impacts water flow and pressure, not heating is usually a distinct problem. However, if the pump is completely seized or there's a severe blockage preventing water from entering the boiler, the heating element might not be submerged, leading to overheating and a tripped thermal fuse. This is an indirect cause of a heating problem. If you hear the pump trying to work but no water flows, or only a trickle, address the pump or blockage first. Pump replacements can cost $30-$60.
Less Common or More Complex Heating Issues
After checking the most frequent culprits, if your Gaggia Classic Pro is still not heating, it might be time to look into more intricate electrical components or connections.
Faulty Wiring or Connections
Loose, corroded, or damaged wiring within the machine can interrupt the electrical circuit to the heating element or thermostats. This can be difficult to diagnose without systematically checking continuity across various points in the electrical path. Always unplug the machine before inspecting internal wiring. Look for obvious signs of burning, fraying, or loose spade connectors. Repairing wiring usually involves crimping new connectors or replacing short sections of wire, which is inexpensive in terms of parts but requires careful work.
Triac/SSR Failure (Solid State Relay)
The Gaggia Classic Pro uses a Triac (or a Solid State Relay in some modified versions) to control the power to the heating element. This component acts as an electronic switch. If the Triac fails, it can either remain open (preventing power from reaching the element) or shorted (causing the element to heat continuously, which would then trip a thermal fuse). Diagnosing a faulty Triac requires some electrical knowledge and a multimeter. Replacement Triacs are usually under $20, but the repair complexity is higher than replacing a thermostat.
Safety Thermofuses
Beyond the main thermal fuses, some Gaggia Classic Pro models have additional safety thermofuses. These can be located in different positions depending on the machine's vintage. They act as a last line of defense against overheating. If one of these blows, the machine will not heat. Locating and replacing these often requires a service manual or detailed diagrams specific to your machine's model year. Their function is similar to the main thermal fuses, but their placement can be less obvious.
Maintenance and Prevention for Optimal Heating
Preventative maintenance is key to avoiding heating problems with your Gaggia Classic Pro. The frequency depends on your local water hardness. Using filtered water or a water softener can significantly reduce mineral buildup. Backflushing the group head regularly also helps maintain overall machine hygiene, though it is less directly related to boiler heating.
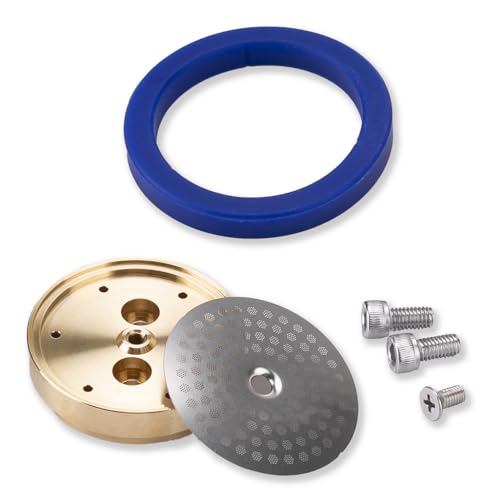
Consider upgrading certain components for improved thermal stability. For instance, the Brass Tune Up Kit for Gaggia, which includes a brass shower holder, offers better heat retention than the stock aluminum part. This kit fits Gaggia Classic machines manufactured up to and including 2014, as well as Classic Pro V3 and other models. The brass shower holder, measuring 58x14.5mm, provides superior heat transfer to the coffee puck, contributing to more stable brew temperatures. This is particularly beneficial for those seeking to maximize their extraction quality and ensure their machine maintains consistent heat through the brewing process. Another excellent option is the Tune Up kit Made for Gaggia Classic, which features an upgraded stainless steel shower holder and an IMS Precision Nanotech Shower Screen GA200NT. This kit is designed for all Classic models, including Evo, Pro, and Limited editions. The precision-engineered shower holder and 200 µm integrated membrane screen with Nanotech coating improve water distribution and thermal stability at the group head, further enhancing your espresso.
Periodic inspection of electrical connections for any signs of wear or corrosion can also prevent future issues. If you are comfortable opening your machine, a quick visual check for loose wires or burnt components can catch problems early.
When to Call a Professional
While many Gaggia Classic Pro heating issues can be resolved with DIY repairs, there are times when professional help is advisable. If you are uncomfortable working with electrical components, lack the necessary tools (like a multimeter), or cannot pinpoint the problem after basic troubleshooting, a professional technician can diagnose and repair the issue safely. Electrical repairs, especially those involving the heating element or control board, carry a risk if not performed correctly. A professional repair typically costs between $100-$250, depending on the parts needed and labor rates. Sometimes, if the machine is very old and requires multiple expensive parts, the cost of repair might approach the price of a new entry-level espresso machine.
For those considering an upgrade or replacement, exploring options like the Best Espresso Machines: A Complete Buying Guide can provide valuable insights. If your Gaggia Classic Pro is beyond economical repair, this guide offers alternatives.