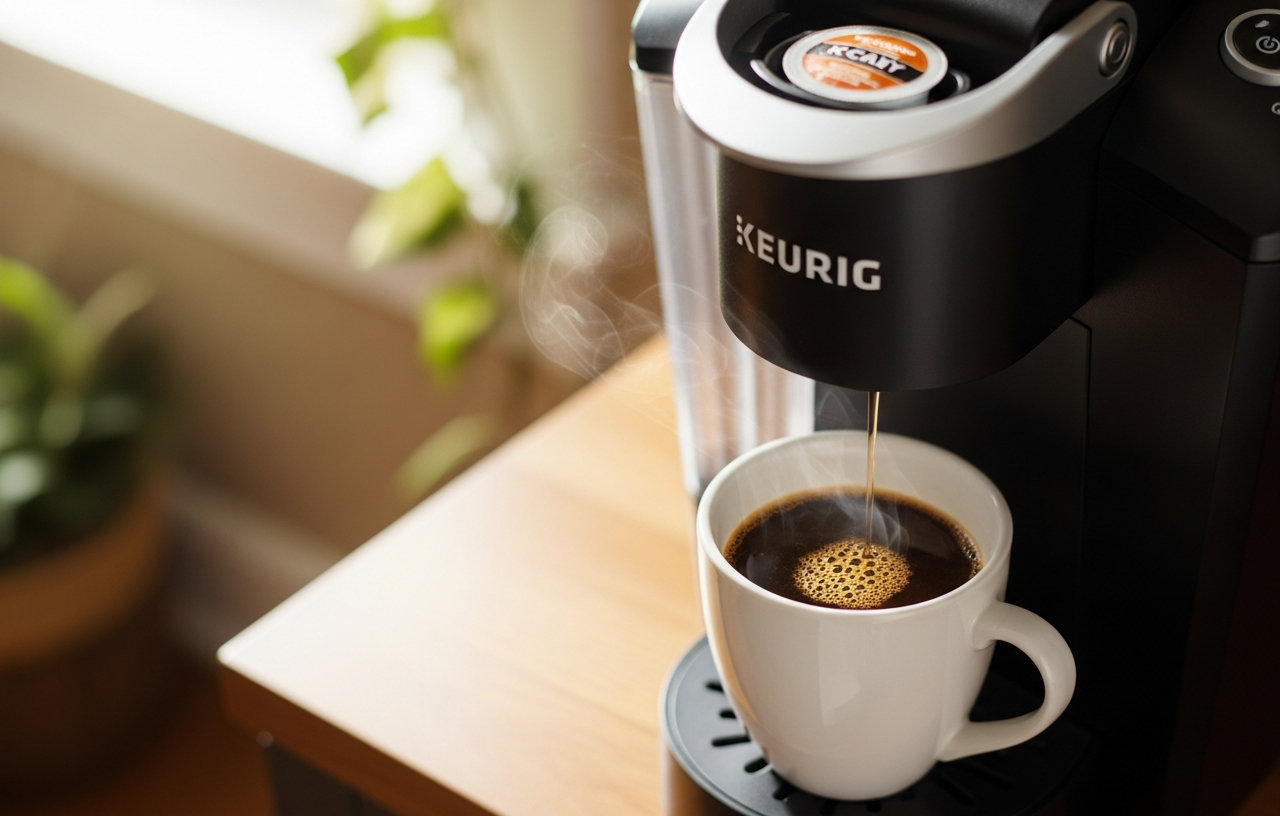
Keurig coffee makers often deliver convenience, but encountering a Keurig not brewing a full cup can disrupt your morning routine. This issue, where your machine dispenses only a partial amount of coffee or none at all, is a common complaint. Fortunately, many causes are simple to diagnose and fix at home, often saving you the cost of a new appliance. Understanding the internal workings of your Keurig helps pinpoint the exact problem.
The Primary Culprit: Mineral Buildup and Descaling
Hard water, prevalent in many areas, contains dissolved minerals like calcium and magnesium. Over time, these minerals accumulate inside your Keurig's internal components, especially the heating element and water lines. This mineral buildup, known as scale, restricts water flow. When water cannot pass freely, your Keurig brewer not brewing full cup becomes a direct consequence. The machine struggles to push the correct volume of water through the system, resulting in short brews or even complete blockage. Visible scale might appear as white, chalky residue in the reservoir or on the K-Cup holder, indicating a more widespread internal issue.
How to Descale Your Keurig
Descaling is the most effective solution for mineral buildup. It involves running a specialized descaling solution through your machine. This process dissolves the mineral deposits, clearing the pathways for water. Follow these steps for a thorough descaling:
- Prepare the Machine: Empty the water reservoir completely. Remove any K-Cup pod from the holder.
- Add Descaling Solution: Pour one bottle of descaling solution into the reservoir, then fill the rest with fresh water. Check your solution's instructions for exact ratios.
- Run Cleansing Brews: Place a large mug on the drip tray. Start a brewing cycle without a K-Cup pod. Repeat this process until the reservoir is empty. Discard the contents of the mug after each cycle.
- Rest and Rinse: Let the machine sit for at least 30 minutes with the solution still inside its internal lines. This allows the solution to work on stubborn deposits. After the rest period, refill the reservoir with fresh water and run at least 12 full water-only brewing cycles to thoroughly rinse out any remaining descaling solution. This is a critical step to make sure no solution flavors your next coffee.
Our Universal Descaling Solution is designed to remove bitter mineral buildup and calcium deposits from heating elements effectively. This professional coffee descaler works for Keurig, Nespresso, Breville, DeLonghi, and Ninja machines. It helps extend your brewer’s lifespan by preventing clogs and mechanical failure caused by hard water. Regular use of this solution can restore your Keurig's brewing performance.

- Our universal descaling solution removes bitter mineral buildup and calcium deposits from heating.
- This powerful descaler for Keurig coffee machines is also a highly effective Nespresso descaling solution.
- EXTEND YOUR BREWER’S LIFESPAN: Prevent clogs and mechanical failure caused by hard water. Regular.
- Unlike vinegar, our professional-grade liquid descaler leaves no vinegary aftertaste or smell. The.
For ongoing maintenance and cleaning, the Keurig Brewer Cleanse Kit provides a descaling solution along with rinse pods. These pods are a quick way to clean your K-Cup pod holder, reducing flavor carry-over between brews and rinsing away residue and oils that can build up.
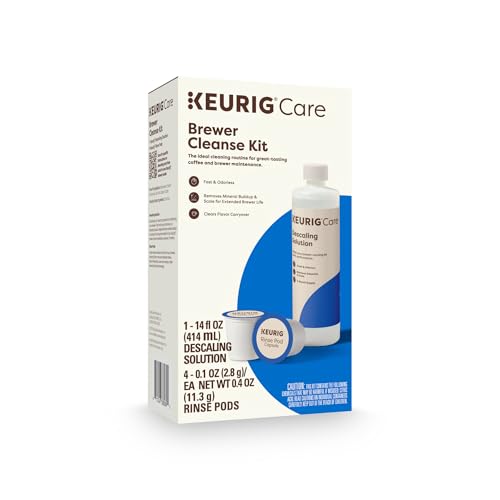
- Better tasting beverages: Reduces flavor carry over between brews
- Quickest way to clean your k cup pod holder: Rinse away residue and oils that can build up in your coffee.
- Easy to use: Use just like you would a regular k cup pod
- Safe and effective: Gentle and odorless formula
Alternatively, the Keurig 3-Month Brewer Maintenance Kit offers a comprehensive approach. It includes descaling solution, water filter cartridges, and rinse pods, making sure your machine stays clean and performs optimally.
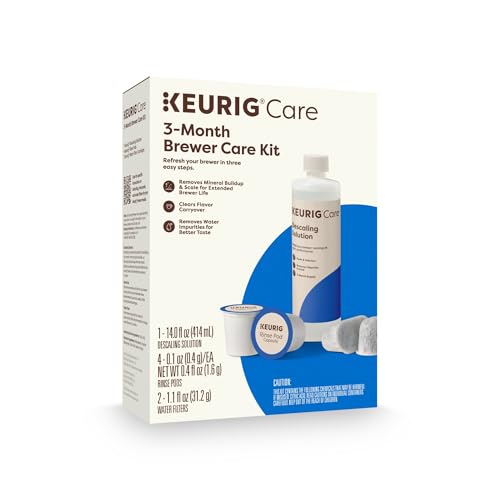
- 4 Keurig Rinse Pods, 1 Descale Solution, and 2 Water Filter Cartridge Refills
- Reduces flavor carry-over between brews
- QUICKEST WAY TO CLEAN YOUR K-Cup pod holder: rinse away residue and oils that can build up in your coffee.
- Use just like you would a regular K-Cup pod
The cost for a descaling solution typically ranges from $10 to $20 for multiple uses. Performing this maintenance every 3 to 6 months, depending on your water hardness and usage, is a small investment that prevents more significant problems.
Clogged Needles and K-Cup Holder
Beyond mineral buildup, physical obstructions are another common reason your Keurig machine not brewing full cup. Coffee grounds or debris can accumulate in the K-Cup pod holder or, more critically, in the entry and exit needles. The entry needle punctures the top of the K-Cup, and the exit needle punctures the bottom, allowing water to flow through the coffee and into your mug. If either of these needles is blocked, water cannot pass freely, leading to a partial brew or no brew at all.
Clearing the Obstruction
Cleaning these components is a simple, free fix:
- Unplug the Machine: Always unplug your Keurig before performing any internal cleaning to prevent accidental activation.
- Remove K-Cup Holder: Lift the handle and remove the K-Cup pod holder. Most models allow it to snap out easily.
- Inspect Needles: Examine both the upper needle (under the lid) and the lower needle (in the K-Cup holder). Look for any visible coffee grounds, foil fragments, or other debris.
- Use a Paperclip: Carefully straighten a paperclip and gently insert it into the tip of each needle. Move it around to dislodge any clogs. For the upper needle, you might need to gently push it up and down a few times.
- Clean K-Cup Holder: Wash the K-Cup holder thoroughly with warm, soapy water. Use a small brush to scrub away any residue. Make sure all channels are clear.
- Rinse and Reassemble: Rinse all parts thoroughly with clean water, then reassemble. Run a water-only brew cycle to flush out any remaining debris.
This cleaning takes only a few minutes and can often resolve issues where your Keurig doesn't brew full cup without needing any specialized tools or solutions.
Water Reservoir and Filter Problems
The water reservoir is the starting point for every brew. Several issues related to the reservoir or its filter can prevent your Keurig from delivering a full cup.
Low Water Level
Your Keurig needs a minimum amount of water in the reservoir to initiate a brew cycle and complete it. If the water level is too low, the pump might not be able to draw enough water, or the machine might stop brewing mid-cycle. Always make sure the reservoir is filled above the minimum line before starting a brew. This is a common oversight that causes a Keurig not make full cup.
Air Lock in Water Line
An air bubble can sometimes form in the water line between the reservoir and the pump. This air lock prevents water from being drawn into the system, causing your Keurig to brew partially or not at all. You might hear the pump working harder than usual, or the machine might make gurgling sounds without dispensing much water. To clear an air lock, simply lift the water reservoir, then firmly reseat it back into its position. This action can dislodge the air bubble and restore normal water flow. Repeat this a few times if necessary.
Clogged Water Filter
Many Keurig models come with a charcoal water filter in the reservoir. While these filters improve water taste by removing impurities, they can become clogged over time. A heavily clogged filter restricts water flow, putting strain on the pump and causing your Keurig not making a full cup of coffee. It is recommended to replace these filters every two months or after 60 tank refills, whichever comes first. Replacing a clogged filter is a simple process: remove the old filter, rinse the new one, and insert it into the filter holder in the reservoir.
The cost for a new water filter cartridge is typically about $5-$10. Addressing these reservoir-related issues is often free or very inexpensive.
Incorrect Brew Size Selection
Sometimes, the simplest explanation is the correct one. It is possible you have inadvertently selected a smaller cup size than intended. Modern Keurig machines offer various brew sizes, from small 4-ounce cups to large 12-ounce or even 16-ounce travel mug options. If you typically brew a large cup but selected a smaller setting, the machine will dispense the programmed smaller volume, leaving you with a Keurig not brewing a full cup.
Before assuming a mechanical issue, take a moment to double-check the brew size button or display on your machine. Make sure the desired cup size is illuminated or selected. This quick check costs nothing and resolves the problem instantly if it was simply a user setting error. It is a fundamental step in troubleshooting before moving to more complex diagnostics.
Pump Malfunction or Failure
The pump is the heart of your Keurig coffee maker, responsible for drawing water from the reservoir, pushing it through the heating element, and then through the K-Cup pod. If the pump is weak, failing, or has completely stopped working, it cannot deliver the correct volume of water, resulting in a Keurig not brewing a full cup. Symptoms of a pump issue include:
- Unusual grinding, whirring, or buzzing noises without water being dispensed.
- Very slow brewing, where water drips rather than flows.
- No water being dispensed at all, even when the reservoir is full and all other components are clear.
- The machine attempting to brew but cutting off abruptly.
A pump malfunction is a more serious mechanical issue than clogs or mineral buildup. Replacing a Keurig pump requires some technical aptitude and specific replacement parts. If you are comfortable with disassembling appliances, you might find replacement pumps online for $20-$50. However, professional repair costs, including parts and labor, typically range from $50-$150. Given that many basic Keurig models are available new for $70-$200, replacing the entire machine is often a more economical and less frustrating option.
When faced with a pump failure, weigh the cost of repair against the cost of a new Keurig. For older models or machines near the lower end of the price spectrum, a replacement machine often offers better value and comes with a new warranty. If you are considering an alternative to pod-based brewing, exploring options like drip coffee makers with grinders might be a good next step.
Other Less Common Issues
While less frequent, other internal problems can cause a Keurig not brewing a full cup. These issues are often more complex and typically require professional service or machine replacement.
Faulty Sensor
Some Keurig models have internal sensors that detect water levels, K-Cup presence, or temperature. A faulty sensor could incorrectly signal low water or a missing pod, causing the machine to stop brewing prematurely. Diagnosing a specific sensor issue at home is challenging without specialized tools.
Circuit Board Problems
The main circuit board controls all electronic functions of your Keurig. Electrical problems, such as a short circuit or a component failure on the board, can disrupt the brewing cycle and affect water delivery. These issues are rare but can manifest as inconsistent brewing volumes or complete machine failure. Repairing a circuit board is generally beyond the scope of home troubleshooting.
For these less common issues, the repair cost, if a technician can even diagnose and fix it, would likely exceed the price of a new Keurig machine. Most owners opt for replacement rather than specialized repair in these scenarios, with potential costs for professional troubleshooting and repair easily reaching $100-$200+.
Resolving a Keurig not brewing a full cup often starts with simple steps. Begin with descaling and cleaning the needles, as these are the most common culprits. Progress to checking the water reservoir and filter, and finally, consider mechanical failures like a pump issue. Regular maintenance, especially descaling, is your best defense against these brewing problems, making sure your Keurig consistently delivers the full, satisfying cup of coffee you expect.