Why a Clean Coffee Grinder Matters for Your Brew
The flavor of your morning coffee starts with the beans, but it finishes with your grinder. Over time, coffee beans release oils that coat the burrs and internal chambers of your grinder. Microscopic particles of ground coffee also cling to these surfaces. These stale oils and old grounds become rancid, imparting a bitter, off-putting taste to freshly ground coffee. This contamination affects even the highest quality beans, making every cup less enjoyable.
Beyond flavor, a dirty grinder can also impact performance. Accumulated grounds and oils can clog the burrs, leading to inconsistent grind sizes. This inconsistency directly affects extraction, whether you are brewing espresso or drip coffee. An uneven grind can result in underextracted, sour coffee or overextracted, bitter coffee. Regular cleaning ensures your grinder operates efficiently and produces the uniform grinds necessary for a delicious cup.
Essential Tools for No-Disassembly Cleaning
Cleaning your coffee grinder effectively without taking it apart requires a few simple tools. These items are typically inexpensive and easy to find. Having them on hand makes the cleaning process quick and efficient.
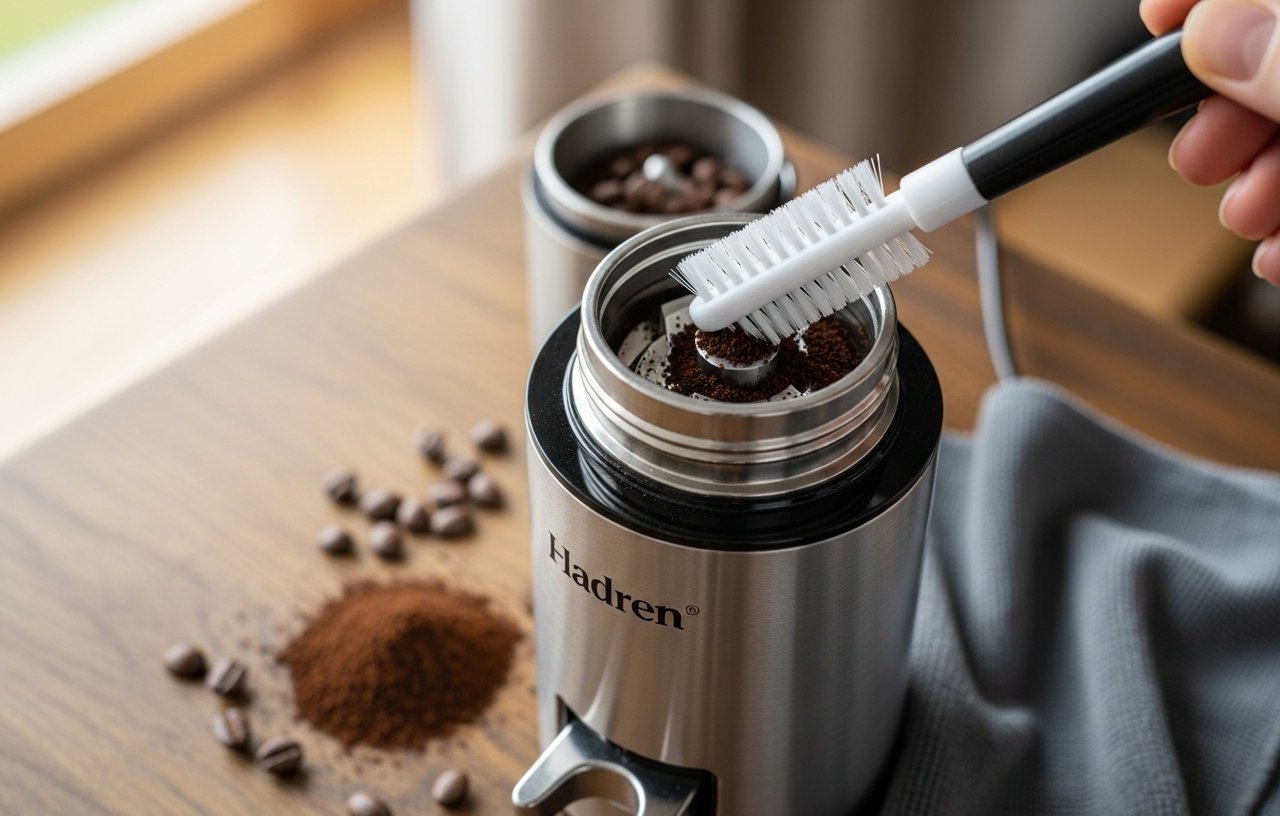
- Soft-bristled brush: A dedicated coffee grinder brush is ideal. These brushes have stiff, yet gentle, bristles that reach into tight spaces. A clean, unused paintbrush or pastry brush can also work in a pinch.
- Small vacuum cleaner with a hose attachment: A handheld vacuum or the crevice tool of a larger vacuum is excellent for suctioning out stubborn grounds.
- Microfiber cloth: For wiping down the exterior and grounds bin.
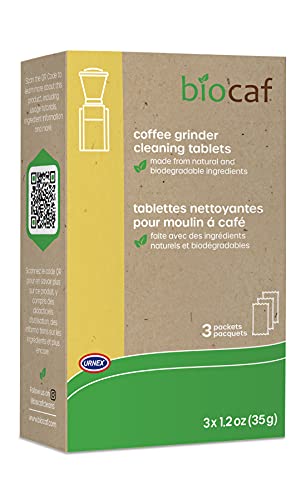
- Coffee grinder cleaning tablets: These are specifically designed to absorb coffee oils and dislodge old grounds. Products like Urnex Grindz are formulated from all-natural, food-safe ingredients, making them a popular choice for home users.
step by step Guide to Cleaning Your Coffee Grinder
This method focuses on efficiency and safety, making sure your grinder is spotless without the hassle of disassembling intricate parts. The entire process typically takes about 10-15 minutes.
Step 1: Empty the Hopper and Grounds Bin
First, remove any remaining whole beans from the hopper. You can pour them back into their original container or seal them for later use. Next, take out the grounds bin and empty any ground coffee. Wipe the grounds bin clean with a dry microfiber cloth to remove loose particles.
Step 2: Run the Grinder Briefly
With the hopper empty, run the grinder for 5-10 seconds. This action helps to clear out any beans or larger fragments that might be caught between the burrs. Angle the brush to reach into crevices. Many grinders allow you to remove the top burr assembly with a twist. If your model permits this easy removal without tools, take it out to brush the burrs more thoroughly. If not, simply brush what is accessible.
Step 5: Vacuum Out Remaining Particles
Attach the narrow nozzle to your vacuum cleaner. Carefully vacuum out the hopper, around the burrs, and the grinding chamber. Pay close attention to the exit chute where ground coffee dispenses, as this area often accumulates stubborn residue. The vacuum effectively removes fine dust and small particles that brushing might miss.
Step 6: Introduce Coffee Grinder Cleaning Tablets
This is where specialized cleaning tablets prove invaluable. Urnex Grindz Professional Coffee Grinder Cleaning Tablets are a top choice. They are made from all-natural, food-safe, and gluten-free ingredients, ensuring no harmful chemicals affect your coffee.
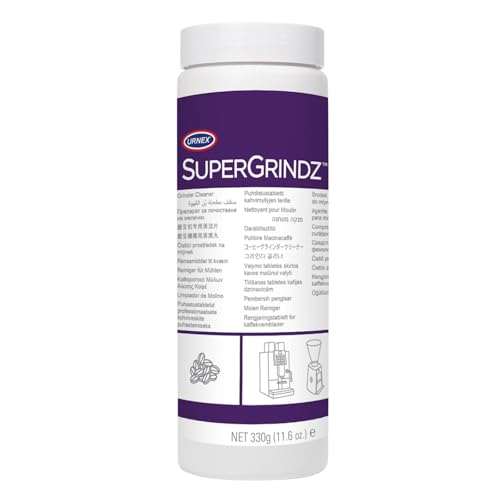
Another excellent option is Urnex Full Circle Coffee Grinder Cleaning Tablets. These come in convenient single-use packets, perfect for occasional cleaning. They work by absorbing coffee residue and oils that cause bitter flavors. Urnex SuperGrindz Grinder Cleaning Tablets also offer a similar effective solution, formulated to remove stuck coffee particles and absorb oil residue.
Step 7: Grind the Tablets
Place the recommended amount of cleaning tablets (typically one or two caps full, or a single packet) into the empty grinder hopper. Set your grinder to a medium-fine setting, similar to what you would use for drip coffee or espresso. Run the grinder until all the tablets have passed through. You will notice the tablets grind into a fine, flour-like powder. This powder works its way through the grinding chamber, picking up oils and old grounds along the way.
Step 8: Grind Sacrificial Coffee Beans
After grinding the cleaning tablets, a small amount of residue from the tablets may remain. To flush this out, grind approximately 20-30 grams (about a scoop or two) of inexpensive, sacrificial coffee beans. Discard these grounds. This step ensures that no cleaning tablet residue remains to affect the flavor of your next brew.
Step 9: Wipe Down Exterior and Reassemble
Use a clean, damp microfiber cloth to wipe down the exterior of your grinder. Remove any dust, fingerprints, or coffee splatters. Make sure the grounds bin is completely clean and dry before reinserting it. If you removed the top burr assembly, reinsert it securely according to your grinder's instructions. Once everything is clean and dry, plug the grinder back in.
How Often Should You Clean Your Coffee Grinder?
The frequency of cleaning depends on how often you use your grinder and the type of coffee you brew. For daily coffee drinkers, especially those using oily, dark roast beans, cleaning your grinder every 1-2 weeks is ideal. Lighter roasts tend to be less oily, allowing for a slightly longer interval, perhaps every 3-4 weeks.
If you notice a stale or bitter taste in your coffee, even with fresh beans, it is a clear sign that your grinder needs cleaning. Similarly, if your grinder sounds different or seems to be grinding inconsistently, a buildup of old grounds could be the cause.
For more insights into grinder types, consider reading our guide on Burr Grinder vs Blade Grinder: Which One Makes Better Coffee?
The Benefits of Regular Grinder Maintenance
Maintaining a clean coffee grinder offers several significant advantages. The most immediate benefit is a noticeable improvement in coffee flavor. Your freshly brewed coffee will taste cleaner, brighter, and truer to the bean's profile, free from the interference of rancid oils. This makes every cup a more enjoyable experience.
Regular cleaning also extends the lifespan of your coffee grinder. Preventing the buildup of grounds and oils reduces strain on the motor and burrs, minimizing wear and tear. This helps your grinder operate efficiently for years to come, protecting your investment. A well maintained grinder is a reliable grinder, consistently delivering the precise grind you need for perfect coffee.
For those looking to upgrade their entire coffee setup, understanding the cost implications is helpful. Read more about How Much Does a Good Espresso Machine Really Cost? to plan your next steps.